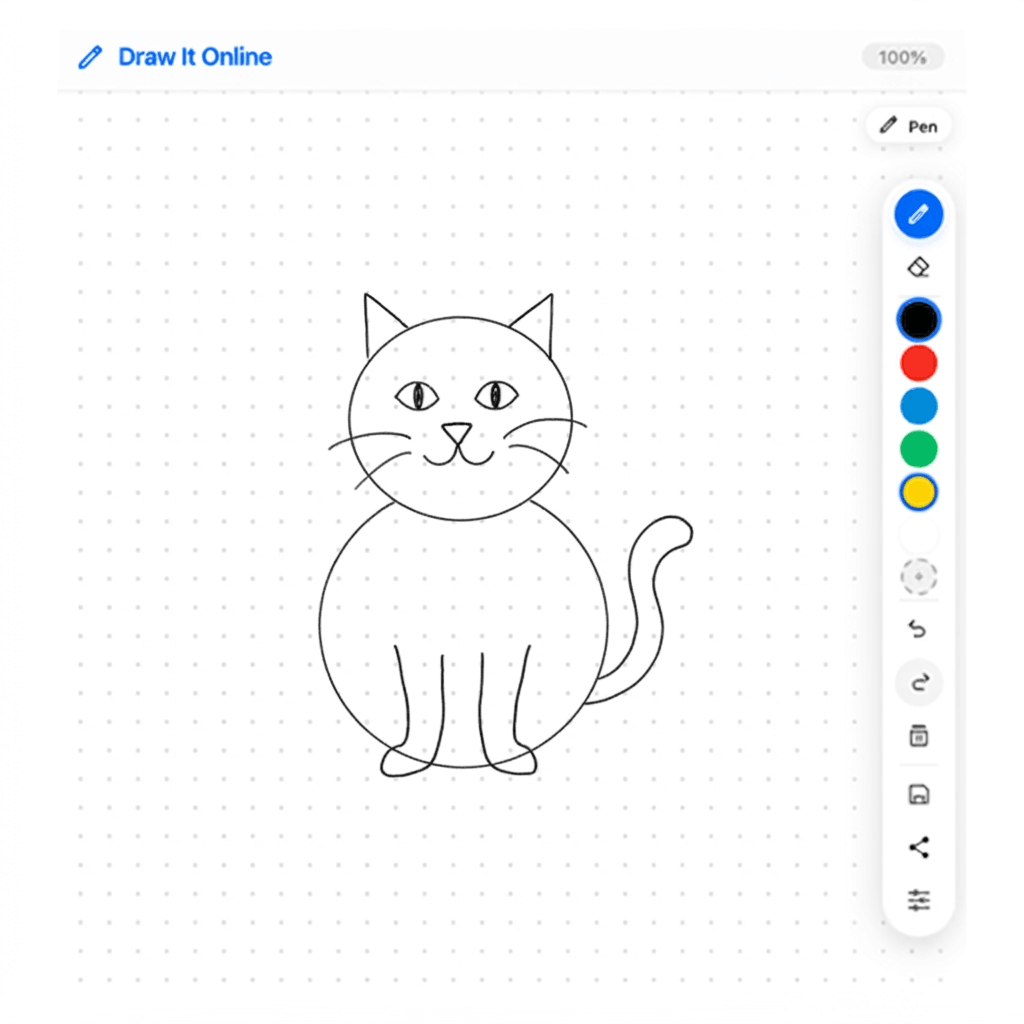
1 Setup Your Canvas
Look to the right panel – that's your live drawing app. Make sure the Pen is selected. Set your brush size to 5 or 8 (click the gear icon on the right toolbar). Pick a dark color like #2D3436 or #1A1A1A.
Optional: Turn on the Grid (Settings → Show Grid) – it can help you keep things symmetrical!
2 Draw the Head & Body
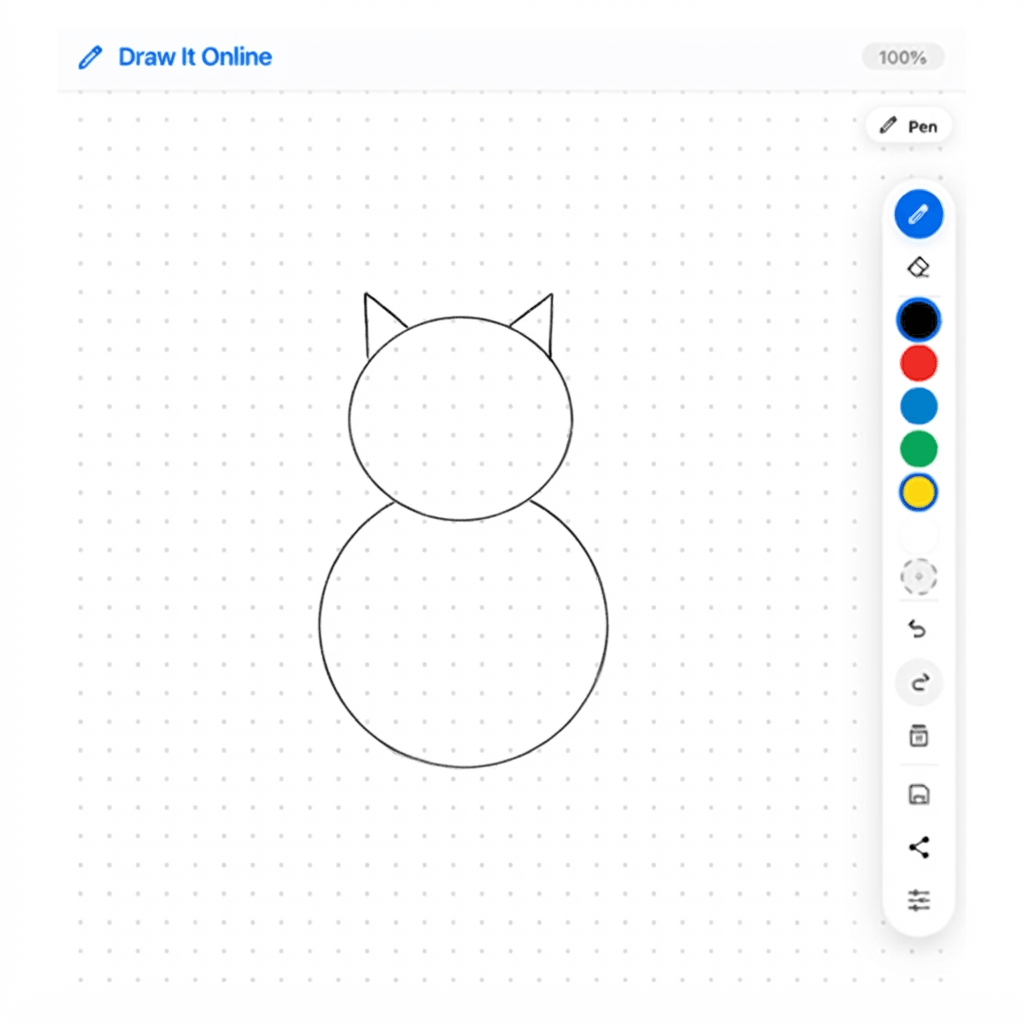
A simple cat is made from just a few basic shapes. Let's start with the head and body.
- Draw a circle for the head (in the top half of the canvas).
- Draw a larger circle or oval below it for the body.
- The body should overlap the head slightly.
- Pro tip: A round head = cute cat. A slightly flatter head = more realistic cat.
3 Add Ears, Eyes & Nose
Hit Clear on the right toolbar. Draw the head and body again, then add the face features.
- Ears: Add two triangles on top of the head (pointy ears).
- Eyes: Draw two small ovals in the center of the face.
- Nose: Draw a small triangle between the eyes, pointing down.
- Whiskers: Add 3-4 straight lines on each side of the face.
Try this: Make the eyes big and round for a cute look – or make them narrow slits for a sleepy cat!
4 Add Tail, Legs & Details
Now let's finish your cat with the remaining details.
- Tail: Draw a curved line coming from the back of the body – make it wavy or curled!
- Legs: Add four short lines at the bottom of the body for legs.
- Paws: Add small ovals at the ends of the legs.
- Mouth: Draw a small curved line under the nose.
Try this: Make the tail curl up like a question mark – it adds so much personality!
5 🏆 The Challenge
Click "Clear" on the right toolbar. Now set a timer for 5 minutes.
Your mission: Draw three different cats – each one with a different expression.
- Cat 1: Happy cat (big eyes, big smile, tail up)
- Cat 2: Sleepy cat (half-closed eyes, relaxed tail)
- Cat 3: Angry cat (narrow eyes, puffy tail, sharp ears)
- Bonus: Draw a cute cat with a heart on its chest!
When the timer is up, hit the Save button to download your cat collection!