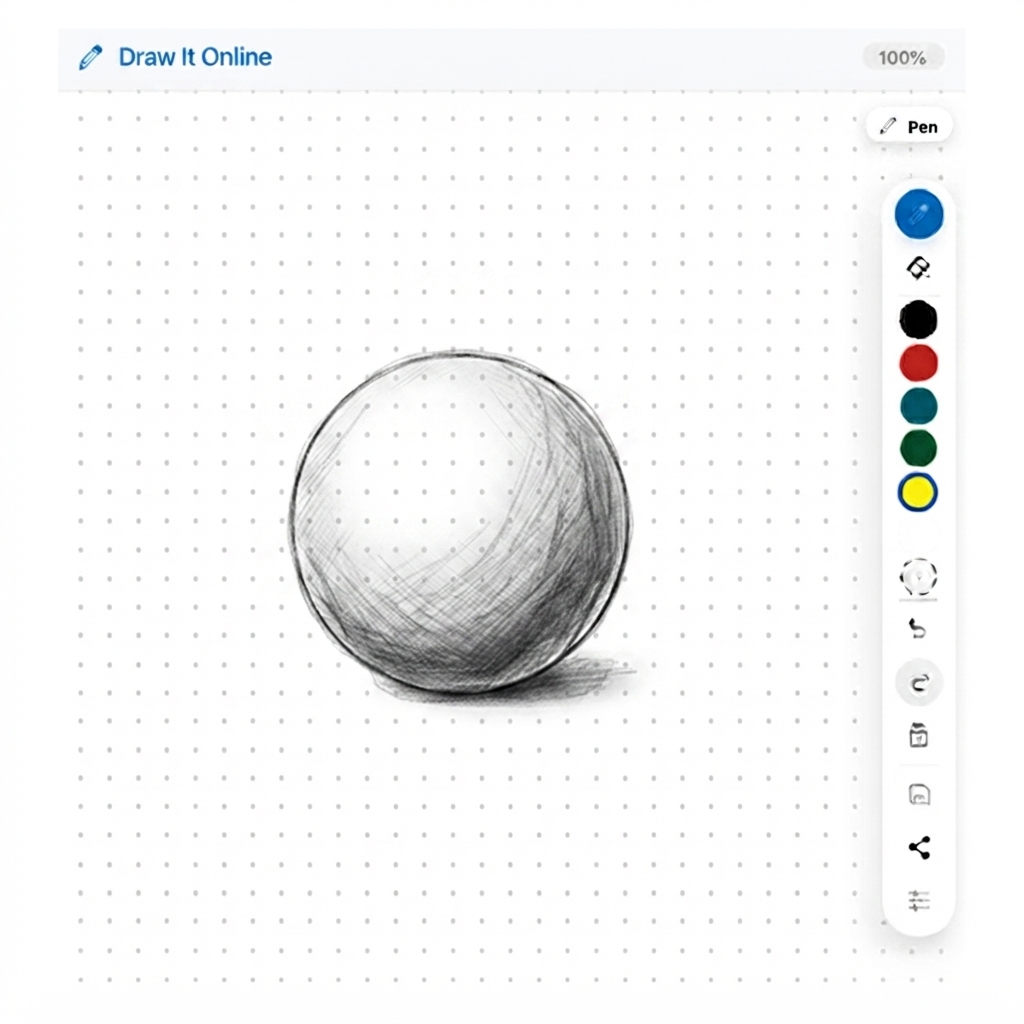
1 Setup Your Canvas
Look to the right panel – that's your live drawing app. Make sure the Pen is selected. Set your brush size to 5 or 8 (click the gear icon on the right toolbar). Pick a dark color like #1A1A1A or #2D3436.
For shading: You'll be using the Opacity slider (Settings → Opacity) to create light and dark tones. Start with 100% opacity for the darkest areas and lower it for lighter areas.
2 Draw the Circle
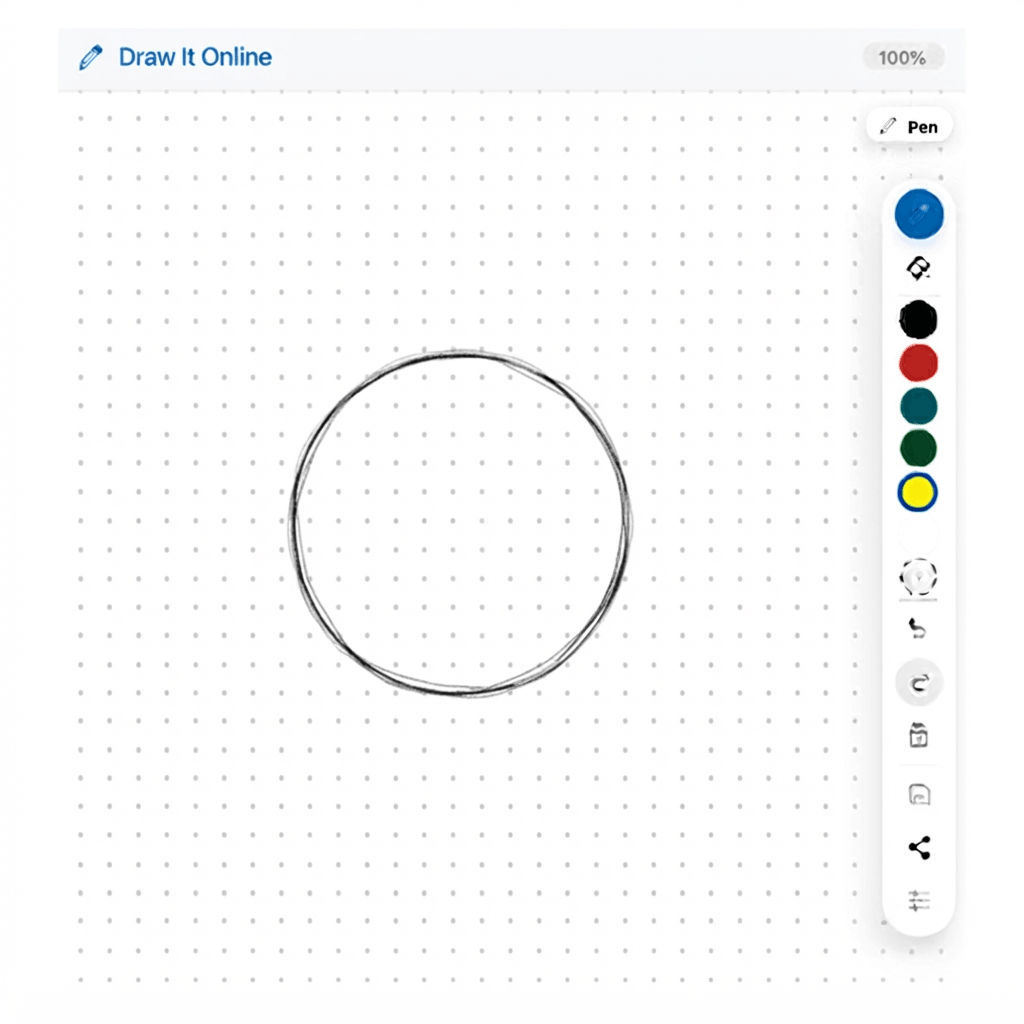
Start by drawing a perfect circle in the center of your canvas. Use the skills you learned in the first tutorial.
- Keep your wrist relaxed and move from the shoulder.
- Draw the circle in one smooth, continuous motion.
- Don't worry if it's not perfect – you can refine it later.
3 Add Light & Shadow
Hit Clear on the right toolbar. Draw a new circle, then let's add some shading.
- Light source: Imagine light coming from the top-left.
- Highlight: The brightest part of the ball will be on the top-left.
- Mid-tone: The middle area of the ball will be medium gray.
- Shadow: The darkest part will be on the bottom-right.
- Cast shadow: Don't forget the shadow on the ground under the ball!
How to shade: Lower your brush Opacity (Settings → Opacity) to about 30-50% and build up the shading gradually with light, overlapping strokes.
4 Refine & Blend
Now let's make your shading look smooth and realistic.
- Build gradually: Add multiple layers of shading with low opacity.
- Blend: Use a soft brush or overlap strokes to smooth out harsh lines.
- Darken the shadow: Use 100% opacity for the darkest areas.
- Add the cast shadow: Draw a soft shadow underneath the ball on the "table."
Remember: Light makes things look 3D! The contrast between light and dark is what gives the ball its roundness.
5 🏆 The Challenge
Click "Clear" on the right toolbar. Now set a timer for 5 minutes.
Your mission: Draw three balls – each one with a different light source.
- Ball 1: Light from the top-left (classic lighting)
- Ball 2: Light from the top-right (opposite direction)
- Ball 3: Light from the directly above (dramatic lighting)
- Add cast shadows under each ball!
When the timer is up, hit the Save button to download your shaded ball collection!