1 Setup Your Canvas
Look to the right panel – that's your live drawing app. Make sure the Pen is selected. Set your brush size to 5 (click the gear icon on the right toolbar). Pick a dark, bold color like #2D3436 or #1A1A1A.
Optional: Turn on the Grid (Settings → Show Grid) – it can help you keep things symmetrical!
2 Draw the Body (The Cylinder)
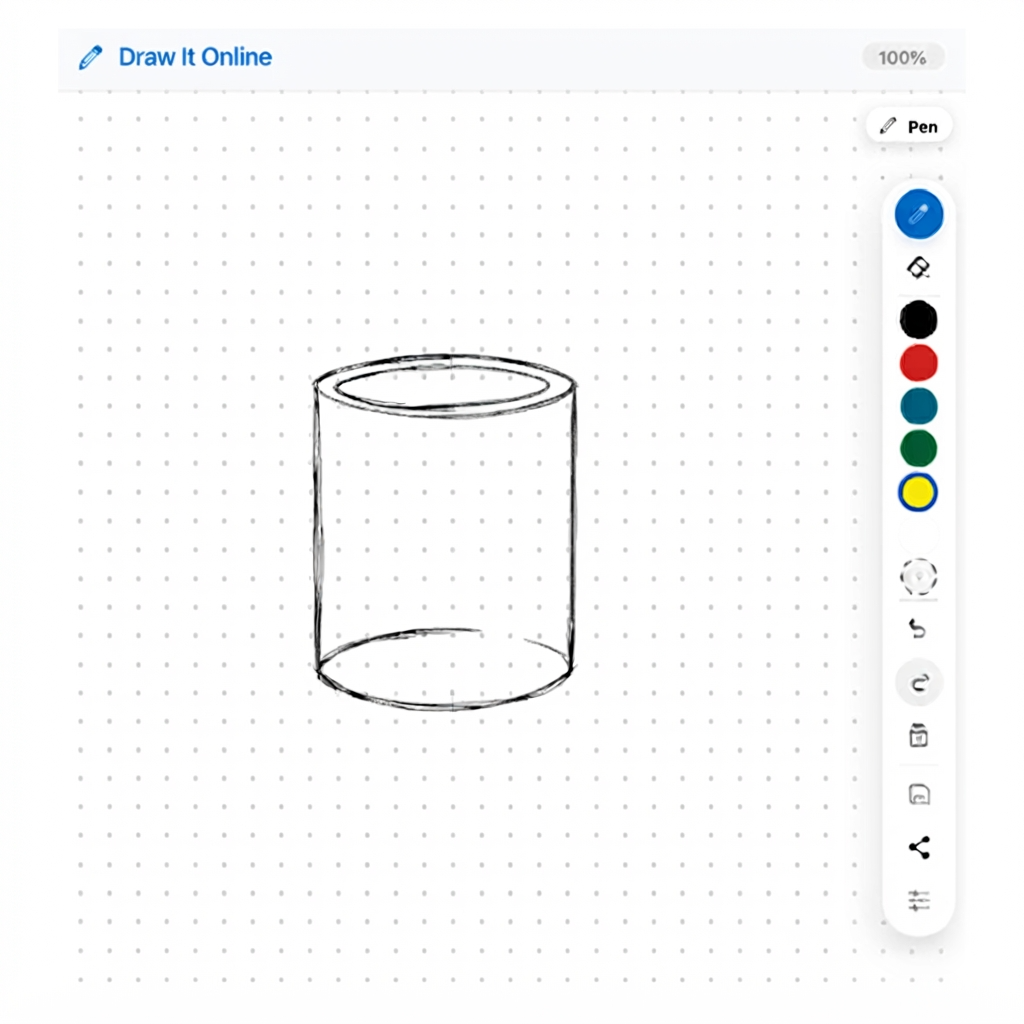
A coffee mug is basically a cylinder with a handle. Let's start with the body.
- Draw a horizontal ellipse at the top – this will be the opening of the mug.
- Draw two straight vertical lines going down from the sides of the ellipse.
- Draw a curved bottom that connects the two vertical lines – this is the bottom of the mug.
- Pro tip: The bottom curve should be slightly flatter than the top ellipse.
3 Add the Handle
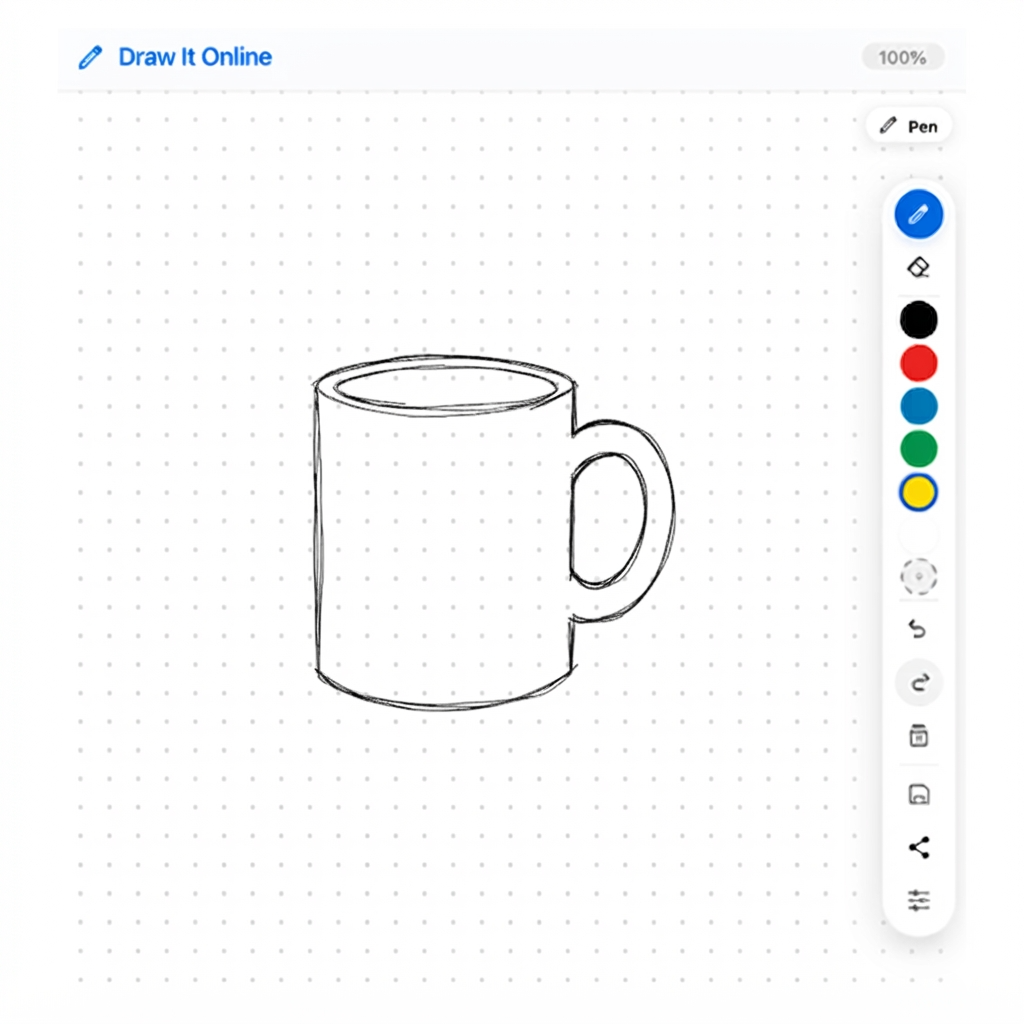
Hit Clear on the right toolbar. Now draw the mug body again, but this time, add the handle.
- Draw the mug body first (ellipse + vertical lines + curved bottom).
- On the right side (or left, if you're left-handed), draw a curved C-shape attached to the side.
- The handle should start about halfway down the mug and loop back to attach near the bottom.
- Make sure the handle is thinner than the mug body.
Try this: Draw the handle on the left side instead of the right. This helps you practice drawing in different directions.
4 Refine & Add Details
Now let's make your mug look more realistic.
- Thickness: Add a small inner ellipse at the top to show the rim of the mug.
- Shadows: Add some light shading on one side of the mug to show depth.
- Details: Draw a small steam wisp coming from the top, or a coffee line inside!
- Don't forget to add a shadow underneath the mug on the table.
Remember: Every detail adds realism. Start with the body, then the handle, then refine!
5 🏆 The Challenge
Click "Clear" on the right toolbar. Now set a timer for 3 minutes.
Your mission: Draw as many coffee mugs as you can – but here's the twist – each one must be different.
- Mug 1: Tall mug with a small handle
- Mug 2: Short, wide mug with a large handle
- Mug 3: Mug with a design (stripes, dots, or a heart)
- Mug 4: Mug seen from a different angle (slightly tilted)
- Mug 5: Your favorite mug from home!
When the timer is up, hit the Save button to download your mug collection!