1 Setup Your Canvas
Look to the right panel – that's your live drawing app. Make sure the Pen is selected. Set your brush size to 5 or 8 (click the gear icon on the right toolbar). Pick a dark, natural color like #2D3436 or #4A3728 (brown-ish).
Optional: Turn on the Grid (Settings → Show Grid) – it can help you keep things centered!
2 Draw the Trunk
Every tree starts with its trunk. Let's build the foundation first.
- Draw two parallel vertical lines coming up from the bottom of the canvas.
- Make them slightly wider at the bottom and narrower at the top.
- Connect them at the bottom with a curved line (the roots).
- The trunk should take up about 1/3 of the total tree height.
Pro tip: Trees in nature are rarely perfectly straight. Try adding a slight curve to your trunk for a more natural look!
3 Add the Canopy
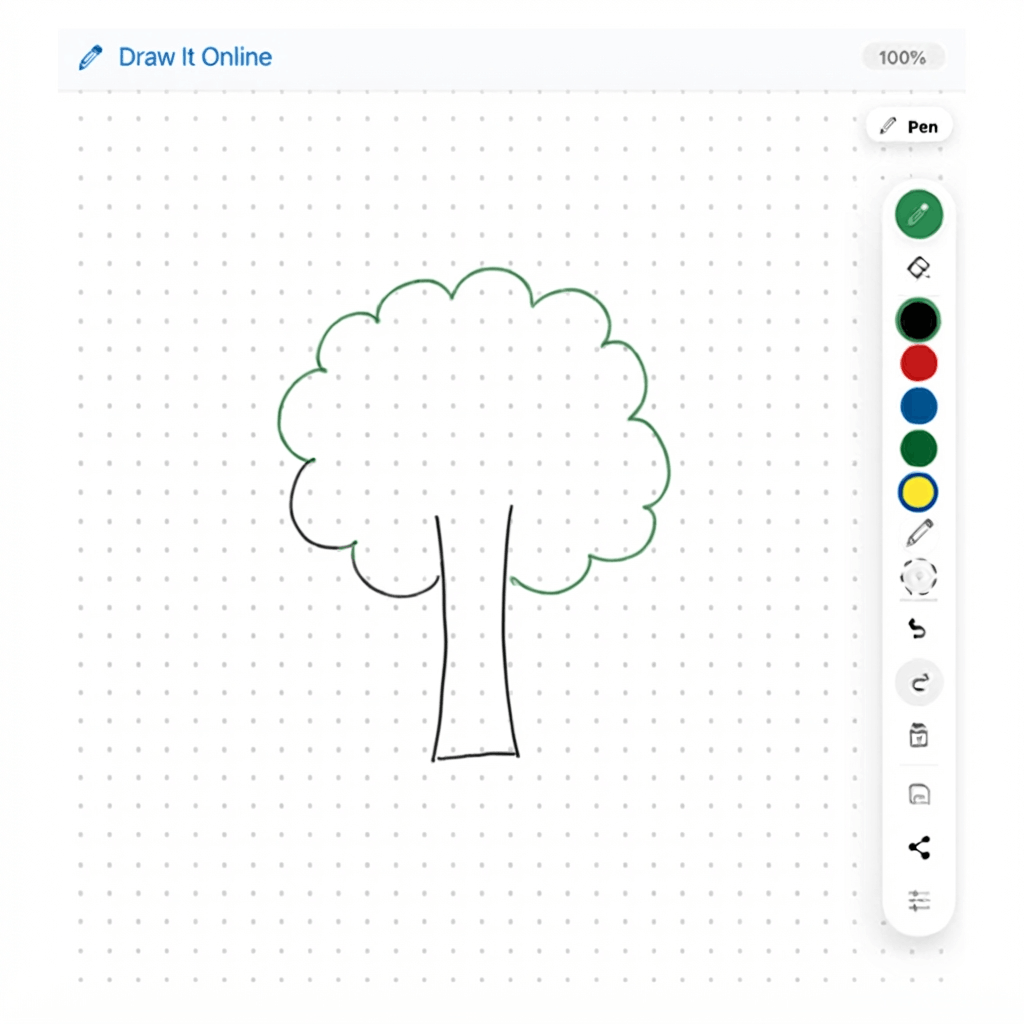
Hit Clear on the right toolbar. Draw the trunk again, then let's add the canopy (the leafy top part).
- Draw a large bubble-like shape on top of the trunk – like a cloud or a big oval.
- Make the canopy wider than the trunk.
- Use curved, organic lines – it shouldn't look perfect or geometric.
- Add some smaller bubble shapes on the edges for a more natural look.
Try this: Draw the canopy in sections – three or four overlapping bubbles – instead of one perfect circle. It will look much more natural!
4 Add Branches & Details
Now let's make your tree look more realistic with some details.
- Branches: Add a few curved lines coming from the trunk into the canopy.
- Roots: Draw some curved lines at the base of the trunk going into the ground.
- Grass: Add some small lines at the bottom of the canvas for grass.
- Leaves: Add small dots or short lines inside the canopy to show leaves.
Try this: Add a small swing hanging from a branch or a little bird sitting in the tree – it adds so much personality!
5 🏆 The Challenge
Click "Clear" on the right toolbar. Now set a timer for 5 minutes.
Your mission: Draw three different trees – each one with a different canopy shape.
- Tree 1: A tall, narrow tree (like a pine tree – pointed top!)
- Tree 2: A wide, round tree (like an oak tree – big, fluffy canopy)
- Tree 3: A weeping willow (branches hanging down, soft canopy)
- Bonus: Add a tree house, a swing, or some birds in one of your trees!
When the timer is up, hit the Save button to download your tree collection!