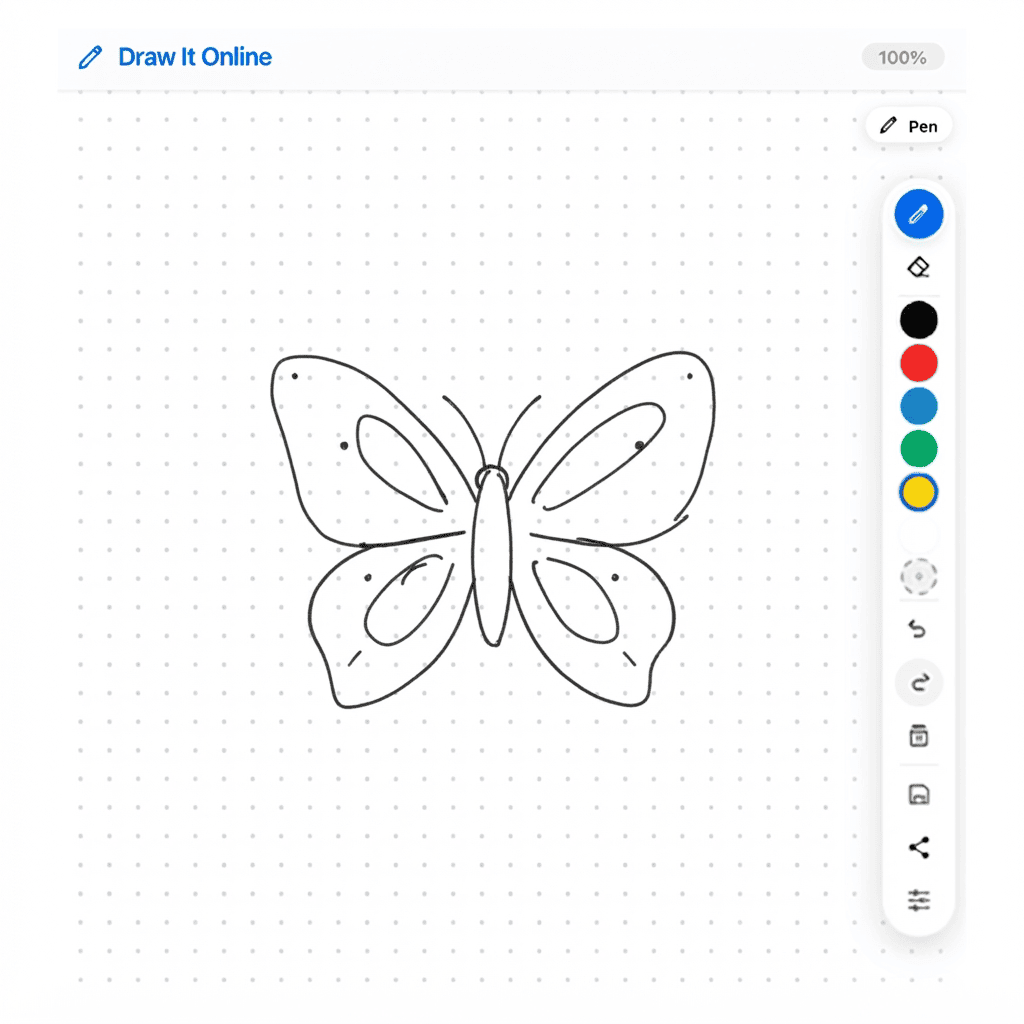
1 Setup Your Canvas
Look to the right panel – that's your live drawing app. Make sure the Pen is selected. Set your brush size to 3 or 5 (click the gear icon on the right toolbar). Pick a dark color like #2D3436 or #1A1A1A.
Optional: Turn on the Grid (Settings → Show Grid) – it can help you keep things symmetrical!
2 Draw the Body
Every butterfly starts with its body. Let's build the foundation first.
- Draw a thin, elongated oval in the center of the canvas – this is the abdomen.
- Add a smaller oval on top for the thorax (the middle part).
- Draw a tiny circle on top for the head.
- Add two thin curved lines coming from the head for the antennae.
Pro tip: Keep the body centered – everything else will branch out from here!
3 Draw the Wings
Hit Clear on the right toolbar. Draw the body again, then let's add the wings.
- Draw four wings – two on the left and two on the right.
- The upper wings should be larger and more rounded.
- The lower wings should be smaller and more pointed.
- Symmetry is key – try to make the left and right wings match!
Try this: Draw a light guideline down the center of the canvas to help you keep everything symmetrical. You can erase it later!
4 Add Patterns & Details
Now let's make your butterfly look beautiful with some patterns.
- Wing patterns: Add circles, dots, or curved lines inside the wings.
- Wing edges: Add small bumps or curves to the edges for a more natural look.
- Antennae: Add small balls at the tips of the antennae.
- Legs: Add six thin lines coming from the thorax – three on each side.
Try this: Make the patterns on the left wing match the right wing – this is a great exercise in symmetry!
5 🏆 The Challenge
Click "Clear" on the right toolbar. Now set a timer for 5 minutes.
Your mission: Draw three different butterflies – each one with a different wing pattern.
- Butterfly 1: Simple dots pattern (like a monarch)
- Butterfly 2: Stripes and lines pattern
- Butterfly 3: Curved swirls and intricate details
- Bonus: Add a flower for your butterfly to land on!
When the timer is up, hit the Save button to download your butterfly collection!