1 Setup Your Canvas
Look to the right panel – that's your live drawing app. Make sure the Pen is selected. Set your brush size to 3 or 5 (click the gear icon on the right toolbar). Pick a dark, bold color like #1A1A1A or #2D3436.
You might also want to turn on the Grid (Settings → Show Grid) – it can help you keep your square proportioned!
2 Draw the Perfect Square
Start by drawing a square in the center of your canvas. Try to make all four sides roughly equal length.
- Use your straight line skills from the previous drill!
- Draw the top line first, then the bottom, then connect the sides.
- Don't worry if it's not perfect – practice makes progress.
Pro tip: If you're struggling, draw a horizontal line and a vertical line that cross in the center, then build your square around them. This gives you a reference point.
3 Turn It into a Cube
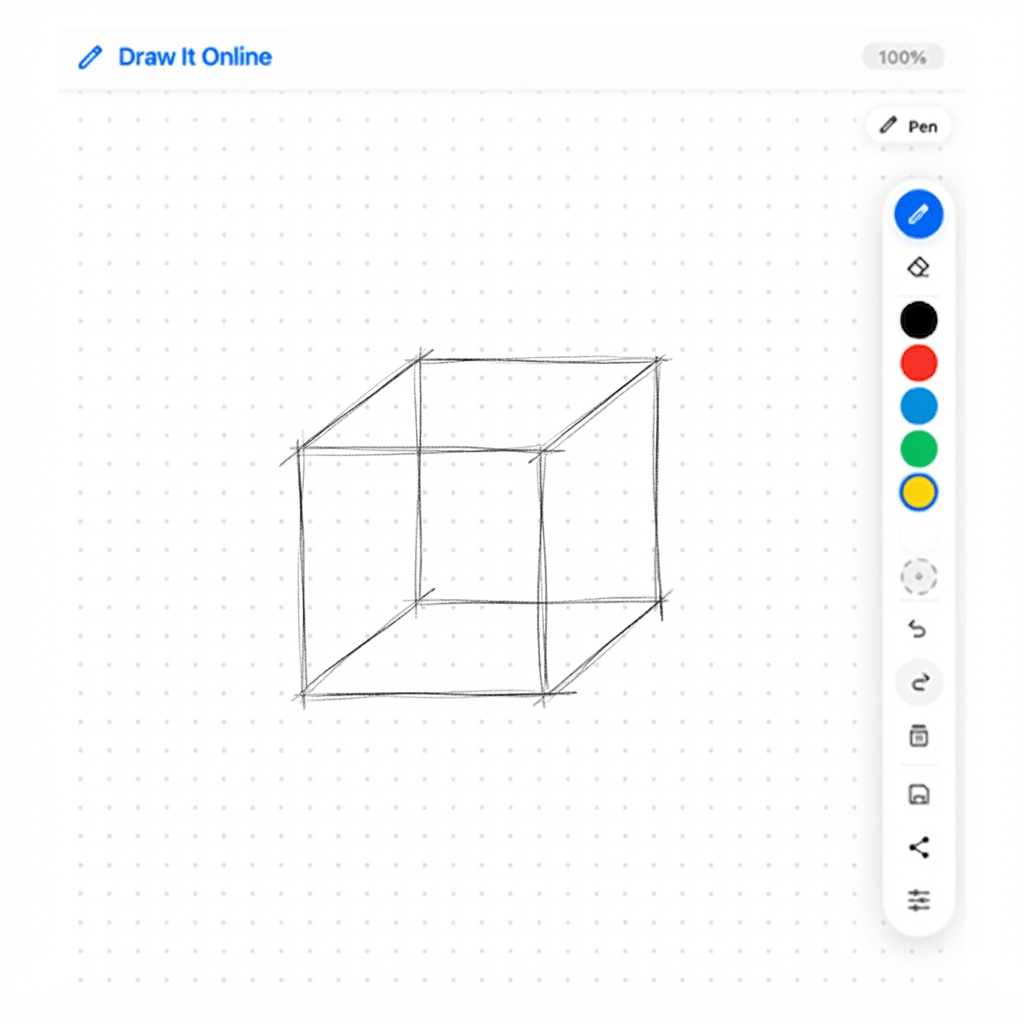
Hit Clear on the right toolbar. Now draw a square again, but this time, turn it into a 3D cube!
- Draw your square first.
- Add 3 diagonal lines going up and to the right from the top-right, bottom-right, and top-left corners.
- Connect the ends of those diagonal lines with straight lines to form the back of the cube.
- Now you have a cube!
Try this: Try drawing the cube from a different angle – make the diagonal lines go up and to the left instead.
4 🏆 The Challenge
Click "Clear" on the right toolbar. Now set a timer for 90 seconds.
Your mission: Draw as many cubes as you can – but here's the twist – make each one from a different angle.
- Cube 1: Lines going up and to the right.
- Cube 2: Lines going up and to the left.
- Cube 3: Lines going down and to the right.
- Cube 4: Lines going down and to the left.
- Repeat!
When the timer is up, hit the Save button to download your practice sheet!